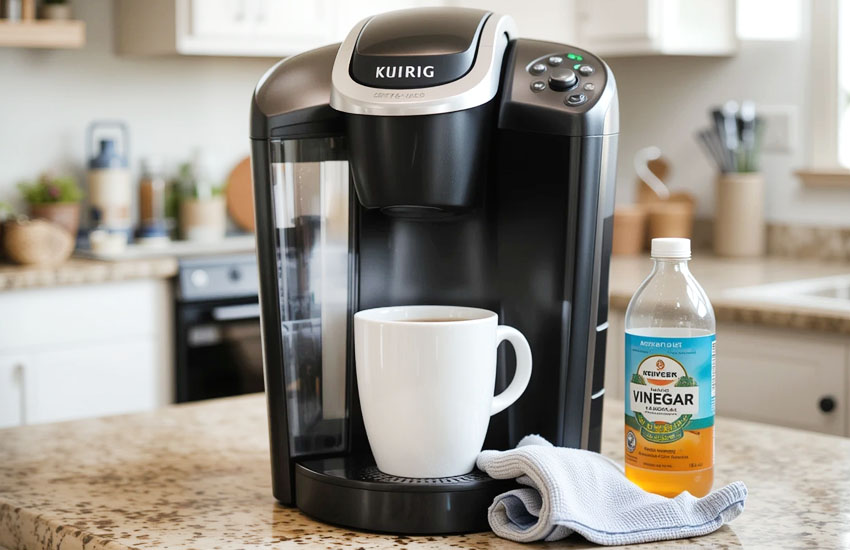
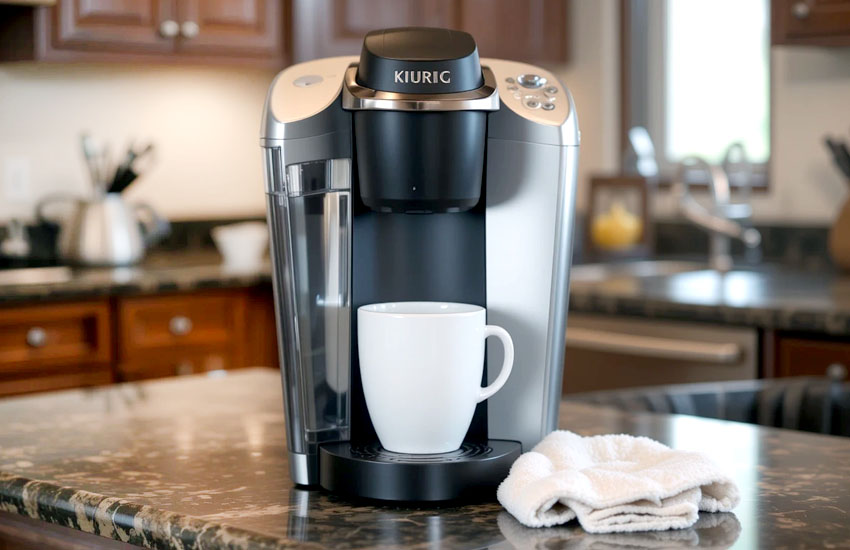
If your Keurig 2.0 is starting to brew slower, or you're noticing a less-than-fresh taste in your coffee, it might be time for a deep clean. And what better way to do that than with some simple vinegar? It's an affordable, eco-friendly, and effective way to descale your Keurig 2.0 and keep it running like new. Let's dive into how to do it step by step, and I'll guide you through it with easy-to-follow instructions that make the process as smooth as your morning coffee!

Why Descaling is Important for Your Keurig 2.0
We all love our Keurig 2.0 for its convenience, but over time, minerals from water can build up inside the machine. This is especially true if you’re using hard water (water with high mineral content) or even moderately hard water. That's where descaling comes in! When your Keurig starts to clog or brews slower than usual, the culprit is usually mineral buildup, also known as scale. It affects the performance of your machine and could even make your coffee taste a little… off.
Descaling your Keurig is important for several reasons. First, it helps to extend the lifespan of your coffee maker by preventing unnecessary wear and tear caused by mineral buildup. Second, it ensures your coffee always tastes fresh. Third, it improves the machine's overall performance, ensuring your Keurig brews your favorite cup of joe quickly and efficiently every time. Plus, descaling is really easy to do! You don't need any fancy tools or cleaners. Vinegar does all the magic.
So, if you're tired of waiting forever for your coffee or if the flavor isn't as fresh as it used to be, descaling your Keurig 2.0 with vinegar is a great way to solve the issue!
Step-by-Step Guide: How to Descale Keurig 2.0 with Vinegar
Now let's get down to the nitty-gritty details. Descaling your Keurig 2.0 is simple, and you can do it in just a few easy steps. We're going to use vinegar—yep, just regular white vinegar—and some water to get the job done. Here's exactly how to do it.
What You'll Need:
- White vinegar
- Fresh water
- A large mug or container
- Your Keurig 2.0 coffee maker
Step 1: Empty the Keurig's Water Reservoir
Before you start, make sure the water reservoir of your Keurig is empty. Remove any remaining water and discard it. This will ensure that you have a clean starting point. Plus, you don't want to be brewing with old water as you're descaling.
Once the reservoir is empty, don't forget to remove any coffee pods from the machine. You're going to run a series of water-only cycles to flush out the scale, so there's no need for any pods at this point.
Step 2: Add Vinegar to the Water Reservoir
Now comes the fun part. Grab your white vinegar—no need for fancy or special kinds, just plain old white vinegar you can get at any grocery store. Pour it into the water reservoir of your Keurig until the tank is about halfway full.
Why vinegar? Well, vinegar is an acid, and acids are great at breaking down the mineral buildup that forms inside the machine. It's not only safe for your Keurig, but it's also a natural, non-toxic way to descale. This simple ingredient does wonders for cleaning your machine.
Step 3: Fill the Rest of the Reservoir with Water
Once you've added vinegar to the water reservoir, fill the rest of the tank with fresh, clean water. You'll want to mix the vinegar and water in a 1:1 ratio. The vinegar works better when diluted because it's strong enough to clean out the mineral buildup without being too harsh on the components inside the Keurig.
If your water reservoir has a maximum fill line, make sure you don't exceed it. The exact amount of water and vinegar will vary depending on your machine's size, but the key is to keep the 50/50 ratio.
Step 4: Start the Descaling Process
Now that your Keurig is prepped, it's time to kick off the descaling cycle. To do this, place a large mug or container on the drip tray (you'll want a big one to catch the liquid coming out). Next, press the “Descale” button on your Keurig. On most models, the descaling light should come on, indicating that the machine is in descaling mode.
If your machine doesn't have a dedicated "Descale" button, don't worry! You can still follow the same process by simply running hot water cycles through the machine. Simply press the brew button to start the water flow, and it will brew the water-vinegar solution through the Keurig.
It's essential to run multiple cycles to ensure the vinegar solution works its magic on the internal parts of the machine. Each time you run a cycle, let the solution flow through and into your cup. After the cycle is complete, discard the liquid in the mug and repeat the process.
Step 5: Continue Running Cycles Until the Vinegar Solution is Gone
Keep running the vinegar and water solution through the machine until the water reservoir is empty. This may take a few cycles, depending on how much vinegar and water you've added. The goal is to ensure that the solution flows through every part of the machine, including the water lines, the internal heating element, and the drip system.
If your Keurig has been particularly neglected and the mineral buildup is stubborn, you may need to let the vinegar solution sit in the water reservoir for a few minutes before continuing with the cycles. This will give the vinegar more time to break down the minerals.
Step 6: Rinse and Run Water-Only Cycles
Once you've emptied the water reservoir of the vinegar solution, it's time to rinse the machine. Fill the reservoir with fresh, clean water (no vinegar this time) and run a few more cycles to flush out any remaining vinegar taste and smell.
This step is important! You don't want your next cup of coffee tasting like vinegar, so make sure you run enough water-only cycles until the reservoir and your Keurig are thoroughly rinsed.
Step 7: Clean the Exterior of the Machine
While the descaling solution is doing its work inside the Keurig, you can take a few minutes to clean the exterior. Wipe down the outside of the machine with a damp cloth and gently clean the drip tray, the pod holder, and the water reservoir lid. This ensures that your Keurig looks just as fresh as it feels.
Step 8: Enjoy Your Fresh, Clean Keurig!
Once you've finished all the rinsing cycles and the machine is free of vinegar, your Keurig 2.0 is good to go! You should notice that it brews more efficiently, with better-tasting coffee, and that it runs much more smoothly. The descaling process will have helped remove any mineral buildup and restored the performance of your machine.
Tips for Maintaining a Clean Keurig 2.0
Now that you know how to descale your Keurig 2.0 with vinegar, let's talk about a few tips to keep your machine running smoothly for the long haul. Regular cleaning and maintenance will ensure your Keurig stays in top shape.
- Descale Regularly: You don't have to wait until your Keurig is slow or clogged to descale it. In fact, it's best to do it every 3-6 months, depending on how often you use the machine and the hardness of your water.
- Use Filtered Water: Using filtered water instead of tap water can help reduce the mineral buildup in your machine, keeping it cleaner for longer.
- Clean the Parts Frequently: Don't forget about the pod holder, drip tray, and water reservoir. Cleaning these parts regularly with warm, soapy water will help prevent any mold or mildew buildup and keep your Keurig tasting fresh.
- Keep the Machine Dry: After cleaning, be sure to dry all parts thoroughly before reassembling your Keurig. This will help prevent any water from sitting and potentially growing mold inside the machine.
By following these simple tips, you can keep your Keurig 2.0 in great shape, ensuring it continues brewing your coffee with precision and speed.

I hope this guide has helped you understand how to easily descale your Keurig 2.0 with vinegar. It's a simple process that can make a world of difference in how your coffee maker performs, and it's so easy to do yourself! By maintaining your Keurig and descaling it regularly, you'll enjoy better-tasting coffee and extend the lifespan of your machine. Happy brewing!
Frequently Asked Questions
Is it safe to use vinegar to descale my Keurig 2.0?
Yes, using white vinegar to descale your Keurig 2.0 is safe and effective. It's a natural solution that breaks down mineral buildup without damaging the machine.
Can I use apple cider vinegar instead of white vinegar?
While white vinegar is the most common and effective option, apple cider vinegar can also work for descaling. However, it might have a stronger smell.
Do I need to use a special descaling solution?
No, you don't need a special descaling solution. White vinegar is an affordable, eco-friendly alternative that works just as well.
Is it necessary to rinse the Keurig after descaling?
Yes, it's important to run water-only cycles after descaling to ensure no vinegar residue remains in the machine, which could affect the taste of your coffee.
Can I descale my Keurig 2.0 without a descaling button?
Yes, even without a descaling button, you can manually run hot water cycles to flush out the vinegar solution, effectively descaling your Keurig.
Is it okay to descale my Keurig 2.0 if it's not brewing properly?
Yes, descaling is a great way to address brewing issues caused by mineral buildup, including slow brewing and poor-tasting coffee.
Do I need to use the full vinegar solution at once?
It's recommended to run the vinegar solution through the machine until it's gone to ensure a thorough cleaning. If you need to, you can repeat the process.
Can I use distilled water in my Keurig?
Yes, using distilled water is a good way to minimize mineral buildup in your Keurig, especially if you live in an area with hard water.