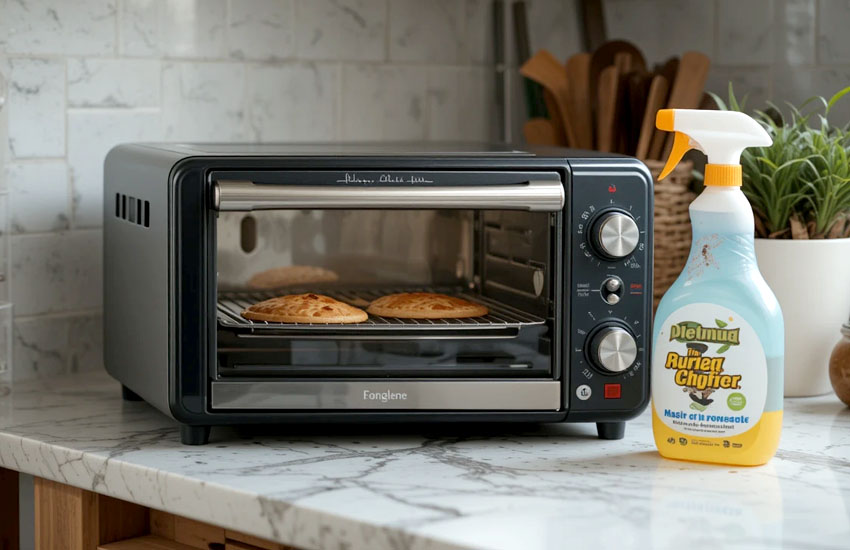
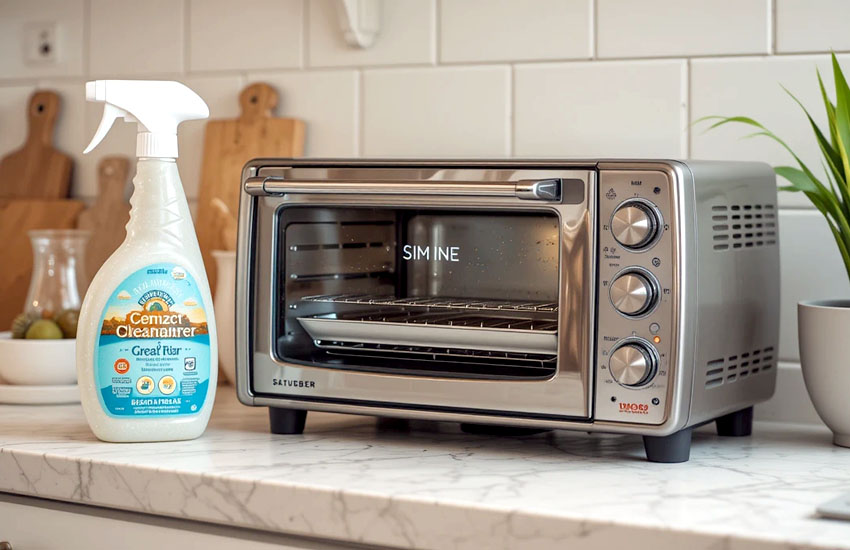
We all love our toaster ovens—they're perfect for quickly toasting, baking, and even roasting! But after frequent use, crumbs, grease, and food splatters can build up, making your toaster oven not just unsightly but also less efficient. Cleaning the inside of a toaster oven may seem like a hassle, but trust me, it's easier than you think! In this guide, I'll show you exactly how to clean your toaster oven inside and out. Let's get started and make your toaster oven as good as new!

Why Regular Cleaning of Your Toaster Oven is Important
You might think your toaster oven doesn't need cleaning as often as other kitchen appliances, but the truth is, it can quickly become a breeding ground for grease, crumbs, and bacteria if not cleaned regularly. Keeping your toaster oven clean is about more than just maintaining its appearance. There are several practical reasons why regular cleaning is essential for both its longevity and its efficiency.
Preventing Fire Hazards
One of the most important reasons to clean your toaster oven is to prevent fire hazards. Over time, crumbs and grease from cooking can build up at the bottom and sides of the oven. If these residues are left unchecked, they could catch fire when the toaster oven gets hot. A tiny crumb or piece of cheese can ignite and cause a fire if left unattended. By cleaning your toaster oven regularly, you eliminate the risk of these materials catching fire, keeping your kitchen safe.
Maintaining Performance
Toaster ovens are built to last, but a build-up of food particles, grease, and grime can cause your appliance to underperform. When debris clogs up the heating elements or the fan, the toaster oven has to work harder to reach the desired temperature. This reduces its efficiency and could lead to uneven cooking or slower toasting times. Regular cleaning ensures that the appliance runs smoothly and efficiently, giving you the best cooking results every time.
Odor-Free Cooking
As your toaster oven heats up and cooks food, any grease or food particles left behind will begin to emit unpleasant smells. Even if you're toasting bread or baking cookies, you could end up with a strange odor in the oven if it hasn't been cleaned. Cleaning your toaster oven helps keep these odors at bay. You'll notice that the food you cook in a clean toaster oven tastes better and smells fresher—because there's no old grease or crumbs lingering to taint the flavor.
Prolonging the Life of Your Toaster Oven
Taking the time to regularly clean your toaster oven can also prolong its lifespan. Grease and food residue can cause wear and tear over time, and build-up can eventually lead to malfunctioning heating elements or a burnt-out fan. Keeping things clean and well-maintained helps prevent damage, which means your toaster oven will last longer and perform better over time. A little bit of regular cleaning can go a long way in ensuring that your appliance stays in top condition.
A More Pleasant Cooking Experience
There's also the personal enjoyment factor. Cooking in a clean space makes the experience more enjoyable, and you don't have to worry about the smell of old food or the sight of caked-on grease. Plus, who doesn't love the satisfaction of using an appliance that looks and functions like new?
Step-by-Step Guide to Cleaning the Inside of a Toaster Oven
Now that you understand why regular cleaning is essential, let's break down exactly how to clean the inside of your toaster oven. Don't worry—this process doesn't have to be a lengthy, difficult task. With just a few simple steps, you can restore your toaster oven to its shiny, functional best!
1. Unplug and Cool Down the Toaster Oven
Before you start cleaning, always unplug your toaster oven and allow it to cool down completely. You don't want to risk burning yourself with hot surfaces, and the appliance needs to be cool to ensure your cleaning supplies don't damage any hot parts. It's best to wait about 10 to 15 minutes after use before you start cleaning.
2. Remove the Crumb Tray and Racks
Start by removing the crumb tray from the bottom of the toaster oven. This tray collects crumbs, cheese drips, and other food remnants, and it's usually the most obvious area that needs cleaning. Give the tray a good shake to remove any loose crumbs, and then wash it with warm, soapy water. A soft sponge or dishcloth should work well to scrub away grease and stubborn particles.
Next, remove the racks from the toaster oven. These can usually be taken out easily, and you'll want to clean them as well. Use a damp cloth to wipe off any crumbs, food particles, or grease. If the racks have any baked-on food, soak them in warm, soapy water for a few minutes to loosen the debris before scrubbing them with a soft sponge.
3. Clean the Interior Walls
Once the crumb tray and racks are removed, it's time to clean the interior walls of the toaster oven. These surfaces can get greasy from cooking oil, cheese drips, or splattering food. Use a mixture of warm water and mild dish soap to clean the walls. A soft sponge or microfiber cloth works best, as rough scrubbing pads could scratch the surface. Avoid using harsh chemicals or abrasive sponges, as they can damage the toaster oven's interior.
For stubborn grease, create a paste using baking soda and water. Apply the paste to any areas with built-up grease and let it sit for a few minutes to break down the residue. Afterward, use a damp cloth to wipe it away. The combination of mild dish soap and baking soda will lift up any tough grease without harming the toaster oven.
4. Tackle the Heating Elements and Fan
The heating elements and fan inside the toaster oven can also accumulate dust and grease over time. To clean the heating elements, use a soft brush or a microfiber cloth to gently wipe away any dust or food particles. Be careful not to apply too much pressure, as this could damage the elements.
If your toaster oven has a fan, you can use a small, dry brush (like a paintbrush or toothbrush) to gently remove dust or debris. Make sure not to dislodge any internal components while cleaning. Be thorough but gentle, and avoid using liquid cleaners directly on the heating elements or fan to prevent electrical damage.
5. Clean the Exterior
Don't forget the outside of the toaster oven! The exterior can accumulate dust, fingerprints, and grease. Use a damp cloth to wipe down the outer surface. If the exterior is stainless steel, you can use a mixture of vinegar and water to remove any smudges and restore its shine. For other finishes, warm, soapy water should do the trick. Dry the surface with a clean cloth to avoid water spots.
For any stubborn spots, you can use a gentle glass cleaner or a paste made from baking soda and water to buff away stains. Just make sure to avoid using abrasive materials that could scratch the surface of your toaster oven.
6. Clean the Oven Door and Glass
The oven door, especially the glass, can get greasy or stained from food splatters. Use a soft cloth and a mixture of warm water and dish soap to clean the glass. You can also use a vinegar-water solution to remove any fingerprints or grease marks. If the glass is particularly dirty, make a paste with baking soda and water and apply it directly to the glass. Let it sit for a few minutes before wiping it away with a damp cloth.
Once the glass is clean, dry it with a soft cloth or towel to ensure it's streak-free. This will not only make your toaster oven look better, but it will also improve your visibility when checking on food while cooking.
7. Reassemble and Test
Once you've cleaned all the parts, let them dry completely before reassembling the toaster oven. Place the crumb tray and racks back in, ensuring that everything is properly positioned. Plug in the toaster oven, and if needed, run it on a low heat setting for a few minutes to make sure everything is working properly and any remaining moisture evaporates.
I hope this guide has made the process of cleaning your toaster oven feel a lot easier. With just a little time and effort, you can keep your toaster oven looking like new and running efficiently. Regular cleaning not only ensures your appliance lasts longer but also makes cooking a more enjoyable experience. So, go ahead and give your toaster oven the TLC it deserves!

Frequently Asked Questions
Is it safe to use abrasive scrubbers on the toaster oven’s interior?
No, you should avoid using abrasive scrubbers on the inside of the toaster oven, as they could scratch the surfaces. Use a soft sponge or cloth instead.
Can I use vinegar to clean my toaster oven?
Yes, vinegar is a great natural cleaner for the toaster oven. It can help remove grease, stains, and odors when mixed with water.
Do I need to clean the toaster oven after every use?
While you don't need to clean your toaster oven after every use, you should clean it regularly to prevent food build-up, grease, and lingering odors.
Can I clean the toaster oven while it's hot?
No, you should always wait for your toaster oven to cool down completely before cleaning it to avoid burns or damage to the appliance.
How often should I clean the toaster oven?
You should aim to clean the toaster oven every 1-2 weeks, depending on how often you use it. If you use it heavily, cleaning it more often might be necessary.
Is it safe to clean the toaster oven's fan?
Yes, it's safe to clean the fan with a dry brush or a microfiber cloth, but be gentle to avoid damaging any internal components.
How can I remove strong odors from my toaster oven?
To remove strong odors, place a small bowl of vinegar inside the toaster oven and heat it for a few minutes. This will neutralize odors naturally.
Can I use dish soap to clean the toaster oven?
Yes, mild dish soap mixed with warm water is perfect for cleaning the interior of your toaster oven. Avoid harsh chemicals or abrasives.