Your home feels much cleaner when the walls and trim sparkle. Dust and marks often hide in these areas without you noticing them. Cleaning them does not have to be a hard job. You just need the right tools and a simple plan. This guide shows you exactly how to make your walls and baseboards look new again quickly.
Start by dusting the entire area with a microfiber cloth or vacuum brush attachment. Mix warm water with a small amount of mild dish soap in a bucket. Dip a soft sponge into the solution and wring it out until it is barely damp. Wipe the walls gently from top to bottom to remove stains. Rinse the sponge often to keep it clean. Dry the surface immediately with a clean towel to prevent water damage or streaks.
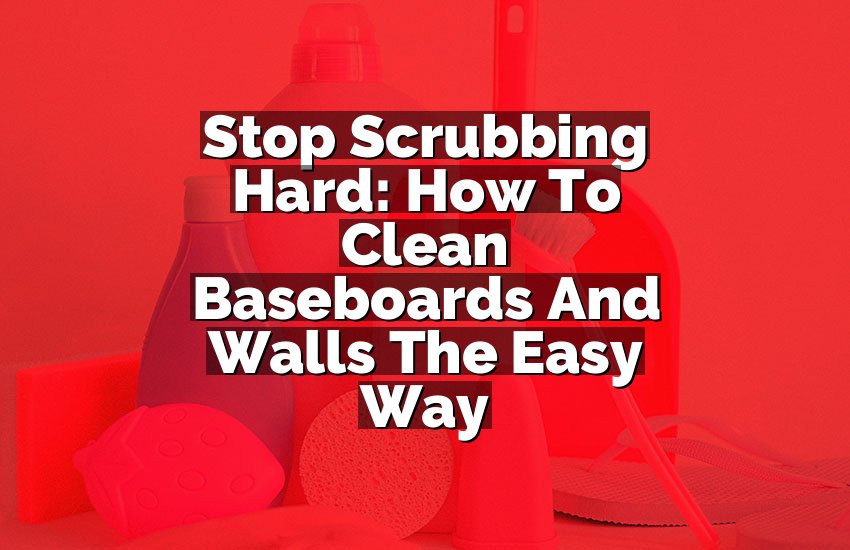
Gathering the Right Cleaning Supplies
You cannot start a good cleaning session without having the correct tools ready first. Using the wrong items might damage your paint or leave messy streaks behind. You should look for soft sponges that do not have a rough scrubbing side. A rough sponge can scratch the finish off your nice baseboards or walls.
Microfiber cloths are essential because they trap dust much better than old cotton rags. You will need at least three or four of these cloths for the whole room. One cloth is for dusting loose dirt before you use any water. The other cloths will help you dry the walls after you wash them clean.
A good bucket is necessary to hold your warm water and soap mixture securely. You might want to use two buckets if you plan to do a deep clean. One bucket holds your soapy cleaning water while the other holds plain rinsing water. This two bucket method keeps you from putting dirty water back onto your clean walls.
Mild dish soap is usually the best cleaner for most painted walls and wood trim. You do not need expensive chemicals that smell strong and might hurt your skin. White vinegar is another great option if you prefer natural ingredients for your home. Just make sure you have everything in one place before you begin the work.
- Soft sponges prevent scratches on paint
- Microfiber cloths trap dust effectively
- Two buckets ensure cleaner results
- Mild dish soap is safe and effective
- White vinegar is a good natural alternative
Preparing the Room for Cleaning
You must prepare the space properly before you start washing any surfaces or trim. This step protects your furniture and makes it easier for you to move around. Start by pulling lightweight furniture away from the walls toward the center of the room. This gives you clear access to the baseboards without hurting your back or knees.
Take down any pictures, artwork, or photos that are hanging on the walls carefully. You do not want to knock them over or get water on the frames. Place these items in a safe spot in another room until you finish. This also gives you a chance to dust the frames while they are down.
Cover your floor with an old towel or a drop cloth to catch drips. Water can easily run down the wall and create puddles on your wood or carpet. These drips can cause damage if they sit on the floor for too long. A simple towel catches the mess and keeps your flooring dry and safe.
Open the windows to let fresh air flow through the room while you work. This helps the walls dry faster after you wipe them with the damp sponge. Good airflow also prevents any damp smells from staying inside the room later. You will feel more energetic working in a room with fresh and cool air.
- Move furniture to the room center
- Remove wall art and photos
- Cover floors to catch water drips
- Open windows for fresh air
- Ensure easy access to all areas
Dry Dusting Techniques That Work
Removing loose dust is the most important step before you use any water. If you add water to a dusty wall it creates a muddy mess. You should start at the top of the wall near the ceiling corners. Dust falls downward so you must always work from the top to the bottom.
A vacuum cleaner with a brush attachment is a very powerful tool for this task. The brush bristles loosen the dust while the vacuum sucks it away immediately. Run the vacuum along the top of the baseboards where dust tends to pile up. This removes the thick layer of grey fuzz that gathers on the trim.
You can use a long handled duster if you cannot reach the high corners easily. These tools allow you to clean the ceiling line without needing a dangerous ladder. Make sure the duster is clean so you do not spread dirt around. Shake the duster outside often to get rid of the collected dust particles.
Wipe the baseboards last with a dry microfiber cloth to catch any remaining fine dust. Check the corners and edges where the trim meets the floor very carefully. Pet hair and dust bunnies love to hide in these low areas of the room. A thorough dusting ensures your washing step will be smooth and very effective.
- Always dust before using water
- Clean from top to bottom
- Use a vacuum brush on trim
- Long handled dusters reach high spots
- Wipe baseboards with a dry cloth
Mixing the Perfect Cleaning Solution
You do not need harsh chemicals to get your walls and baseboards looking great. A simple mixture of warm water and dish soap works wonders on most dirt. Fill your bucket with warm water that is comfortable for your hands to touch. Add just a few drops of liquid dish soap to create some bubbles.
Too much soap can leave a sticky film on your walls that attracts more dirt. You only need enough soap to cut through grease and fingerprints on the surface. Swish the water around gently with your hand to mix the soap evenly. The water should look soapy but not be filled with huge mountains of foam.
If you have tough odors or mold you can add some white vinegar instead. Vinegar is a strong natural cleaner that kills bacteria without damaging most paint finishes. Mix about one cup of white vinegar with a gallon of warm water. The smell of vinegar will go away as soon as the walls dry completely.
Test your cleaning solution on a small hidden area before you do the whole wall. Pick a spot behind a couch or near the floor to be safe. This ensures the solution will not change the color of your paint or stain. Once the test spot looks good you can proceed with the rest.
- Use warm water and dish soap
- Avoid using too much soap
- Vinegar helps with odors and mold
- Mix the solution gently
- Always test a small spot first
The Washing Process Step by Step
Dip your sponge into the cleaning bucket and squeeze it out very well. The sponge should be damp but not dripping wet when you touch the wall. Excess water can soak into the drywall or wood and cause lasting damage. You want to clean the surface dirt without saturating the material underneath.
Start washing at the top of the wall and work your way down slowly. Use gentle circular motions to lift the dirt out of the paint texture. Do not press too hard or you might scrub the paint off the wall. Let the soap solution do the work of loosening the grime for you.
Rinse your sponge in the bucket frequently to stop spreading dirt back onto the wall. If the water in the bucket turns brown or grey change it immediately. Using dirty water will only make your walls look dingy instead of bright and clean. Fresh water ensures that you are actually removing the dirt from your home.
Focus on one small section of the wall or baseboard at a time. This allows you to wash and then dry the area before moving to the next. Breaking the room into small parts makes the big job feel much easier. You will see progress quickly which helps you stay motivated to finish the room.
- Squeeze the sponge until damp
- Wash from top to bottom
- Use gentle circular motions
- Change dirty water often
- Work in small sections
Removing Tough Stains and Scuff Marks
Some marks on your walls or baseboards might need a little extra effort. Scuff marks from shoes often appear on the white trim near the floor. A magic eraser sponge is a fantastic tool for these specific stubborn spots. Wet the eraser slightly and rub the mark gently until it disappears completely.
Be very careful with magic erasers because they work like very fine sandpaper. If you scrub too hard you might remove the sheen from your paint finish. Use them only on the stain and stop as soon as the mark is gone. This keeps your paint looking uniform with the rest of the wall.
Grease stains in the kitchen might require a paste made of baking soda and water. Mix a little baking soda with water until it forms a thick paste. Apply this to the grease spot and let it sit for a few minutes. Wipe it away with a damp cloth to reveal a clean surface underneath.
Crayon marks from children can often be removed with a tiny bit of toothpaste. Apply plain white toothpaste to the crayon wax and rub it with a soft cloth. The mild grit in the toothpaste helps lift the wax off the painted surface. Wipe the area clean with a wet sponge to remove any toothpaste residue.
- Magic erasers work on scuffs
- Use magic erasers gently
- Baking soda paste lifts grease
- Toothpaste removes crayon marks
- Rinse treated areas well
Final Thoughts
Cleaning your walls and baseboards is a simple way to make your home feel fresh. You do not need expensive tools or harsh chemicals to get great results. Regular dusting prevents dirt from building up and makes deep cleaning much easier later. Take your time and work in sections to avoid feeling tired. Your bright and clean walls will make the whole room look brand new again.
| Surface Type | Tool Needed | Method | Caution |
| Painted Drywall | Soft Sponge | Damp wipe with dish soap | Avoid soaking the wall |
| Wood Baseboards | Microfiber Cloth | Wipe with soapy water | Dry immediately |
| Wallpaper | Soft Cloth | Very light damp wipe | Check manufacturer label |
| Kitchen Walls | Baking Soda | Scrub grease spots gently | Do not scratch finish |
| High Corners | Long Duster | Dry dust heavily | Watch for falling dust |
Frequently Asked Questions (FAQs)
Is it safe to use bleach on my painted walls?
It is generally not safe to use bleach on painted walls. Bleach is a very harsh chemical that can strip the color right off your paint. It can also weaken the drywall material if it soaks in too deep. The fumes from bleach are also very strong and can be harmful to breathe. You should stick to mild dish soap or vinegar for general cleaning. If you have a serious mold problem you might need a specialized product. Always read the label on any cleaner before putting it on your paint.
Can I use a mop to clean baseboards?
You can use a flat mop to clean baseboards to save your back. A microfiber flat mop works very well for this specific task. You should wring the mop head out until it is just damp. Run the mop along the length of the baseboards to pick up dust and dirt. This method is great for a quick clean but might not get into corners. For deep cleaning or scrubbing scuffs you will still need to use your hands. Be careful not to bang the mop into the wall above the trim.
Do I need to move all my furniture?
You do not need to move heavy furniture out of the room completely. You only need to pull items away from the walls so you can reach behind them. Moving sofas and heavy cabinets a few feet is usually enough space to work. If a piece of furniture is too heavy to move safely just leave it alone. You can clean as far as you can reach around it. The most important thing is your safety so do not strain your back.
Is it better to dust before washing?
It is absolutely better to dust before you start washing with water. If you add water to a dusty surface you create wet mud. This mud is very hard to wipe off and smears across the wall. Dusting removes the loose particles so the water can work on stains. You will use fewer sponges and less water if you dust first. This simple step saves you a lot of time and frustration. Always vacuum or wipe dry before you dip your sponge.
Can vinegar damage my wall paint?
Vinegar is acidic but it is usually safe for most cured paint when diluted. You must mix it with water to lower the strength before using it. Never put pure vinegar directly onto a painted wall surface. It could potentially dull the finish of glossy paints if used full strength. Always test a small hidden spot before cleaning the whole room. If you see any reaction or color transfer stop using it immediately. For most homes a weak vinegar solution is a safe and effective cleaner.
Do I have to rinse the walls after washing?
You should rinse the walls if you used a lot of soap. Soap residue can dry on the wall and become sticky over time. This sticky layer acts like a magnet for new dust and dirt. Rinsing with a clean sponge and plain water removes this soap layer. If you used a very weak solution you might not need to rinse much. However rinsing ensures a truly clean surface that stays clean longer. It is an extra step that gives the best professional results.
Is it necessary to dry walls immediately?
It is very important to dry walls immediately after washing them. Water that sits on paint or drywall can cause bubbling or peeling. Moisture can also seep behind baseboards and encourage mold growth. Use a clean dry microfiber towel to wipe the area right after washing. This also helps prevent water spots or streaks from forming as it dries. Drying is the final step to ensure your hard work looks perfect. It protects the integrity of your home’s structure and finish.
Can I use a steam cleaner on walls?
You should be very careful using a steam cleaner on walls. The intense heat and moisture can damage paint or peel wallpaper. Steam can force water deep into the drywall which causes swelling. It is better to use the hand washing method for safety. Steam cleaners are great for tile or sealed floors but risky for painted walls. If you must use one keep it on the lowest setting. Keep the steamer moving constantly so it does not overheat one spot.