Let's face it—cleaning the oven can be one of the most dreaded tasks in the kitchen. The grease, the stains, the buildup—it's a lot! If your oven doesn't have a self-clean feature or you just prefer to go the DIY route, don't worry! In this article, I'll walk you through some of the most effective and natural methods for cleaning your oven without the self-clean function. You'll be amazed at how easy it can be to restore your oven to its sparkling best.

Why You Should Clean Your Oven Regularly
We all know that ovens can get pretty grimy after a few months of use. You might be wondering, "Why should I bother cleaning it regularly when I can just wait for the grease to bake off?" Well, there are actually quite a few reasons to give your oven a little attention every now and then, and I promise it's worth the effort.
Prevent Baked-On Grease and Food
Ovens are prone to food spills, grease splatters, and burnt-on bits. Over time, these stubborn stains can harden and become much more difficult to remove if left unattended. The longer you let those bits sit, the tougher they become. Not only does this make your cleaning efforts harder, but it also negatively affects the taste of your food. Imagine baking a delicious cake, only for it to pick up a hint of burnt pizza from last week’s cooking session. Gross, right? By cleaning your oven regularly, you can prevent these buildups and maintain a fresh, neutral space for cooking.
Keep Your Oven Running Efficiently
A clean oven works better. It's that simple! When food particles or grease accumulate in your oven, they can obstruct airflow and affect the appliance's ability to heat evenly. This could mean uneven cooking, longer cooking times, and ultimately, more energy usage. By cleaning your oven regularly, you’re also keeping it functioning efficiently and saving yourself some energy bills in the long run. Plus, you'll be extending its lifespan, which means fewer repairs or replacements down the road.
Prevent Unwanted Odors
There's nothing worse than the smell of burnt food lingering in your oven, especially when you’re trying to cook something new. Food residues can burn, resulting in that awful odor that can seep into your meals. Regular oven cleaning helps remove food particles, grease, and carbon buildup that cause these unwanted smells, leaving you with a fresh-smelling oven every time you open the door.
Enhance Your Cooking Results
A dirty oven can interfere with how your food cooks, and no one wants unevenly cooked meals. Grease buildup can affect the heat distribution, causing hot spots and cold spots in the oven. When you clean your oven, you’re ensuring that it can heat up evenly and efficiently. This means better cooking results, whether you’re roasting vegetables or baking a pizza.
A Healthier Kitchen Environment
An unclean oven can lead to harmful bacteria and allergens accumulating in the kitchen. Food particles that remain inside can attract pests and mold, creating a less-than-healthy environment. By keeping your oven clean, you’re helping maintain a cleaner, healthier kitchen for you and your family to enjoy. Plus, if you have allergies or sensitivities, a clean oven can reduce your exposure to allergens and other irritants.
Step-by-Step Guide to Cleaning Your Oven Without Self-Clean
If you don't have a self-cleaning oven or simply prefer a more hands-on approach, fear not! There are many ways to clean your oven effectively without the need for this feature. I'll walk you through a simple, detailed step-by-step process using safe, natural ingredients that you probably already have in your kitchen.
Gather Your Supplies
First things first: You'll need to gather your cleaning supplies. But don't worry—this isn't complicated. Here's a list of what you'll need:
- Baking soda
- White vinegar
- Dish soap (optional, for a gentle scrub)
- A bucket or large mixing bowl
- Warm water
- A microfiber cloth or sponge
- A plastic spatula or scraper
- Rubber gloves (optional, but helpful)
- A spray bottle (optional)
- A toothbrush (optional, for hard-to-reach areas)
As you can see, most of these items are common household items. Nothing too fancy required!
Pre-Cleaning Prep
Before you get to scrubbing, it’s important to prepare your oven. Start by turning off the oven and allowing it to cool down completely. You don't want to burn yourself while cleaning, so wait until it's cool enough to handle. Once cooled, remove the oven racks and set them aside. You can clean these separately in the sink, but be sure to give them a thorough scrub too.
If there's any loose debris, crumbs, or bits of food, use a dry cloth or sponge to wipe them out. It's always good to remove as much as you can before applying any cleaning solutions.
Making Your Cleaning Paste
One of the best ways to clean your oven without harsh chemicals is by making a natural baking soda paste. Baking soda is an excellent cleaner that cuts through grease and grime, and it's safe for most oven surfaces.
To make the paste, simply mix about 1/2 cup of baking soda with a few tablespoons of water in a bowl. Stir it until you get a thick, spreadable paste. You can add more water or baking soda as needed to achieve the right consistency.
Applying the Baking Soda Paste
Next, grab your sponge or cloth and dip it into the paste. Begin applying the paste to the inside of your oven, focusing on the greasy or stained areas. Use a thin layer of paste on the walls, the bottom of the oven, and around the oven door. Don't forget to apply some paste to the top of the oven, where grease can build up.
Be patient and make sure to cover all the problem areas. Let the paste sit for about 15 to 20 minutes. During this time, the baking soda will start breaking down the grease and grime, making it easier to wipe away. For particularly tough spots, you can leave the paste on for up to an hour.
Scraping Off the Grime
After the baking soda paste has had time to sit, grab your plastic spatula or scraper. Gently scrape off any loosened grease or food particles. Be careful not to scratch or damage the oven's interior. A plastic spatula should be gentle enough to get the job done without causing harm.
If the grime is still stubborn, you can apply a little more paste and let it sit longer. You can also use a toothbrush to scrub the more detailed areas, like around the oven knobs or the door seams. Remember, patience is key!
Cleaning the Oven Racks
While the oven's interior is soaking, it's a great time to clean the racks. Fill your sink or bathtub with warm water and add a bit of dish soap. Let the racks soak for 30 minutes to an hour. After they've soaked, use a sponge or brush to scrub away any remaining grime. If needed, sprinkle some baking soda onto the racks and scrub gently to remove any stubborn spots. Once they're clean, rinse them thoroughly and dry them before putting them back into the oven.
Vinegar Spray for a Sparkling Finish
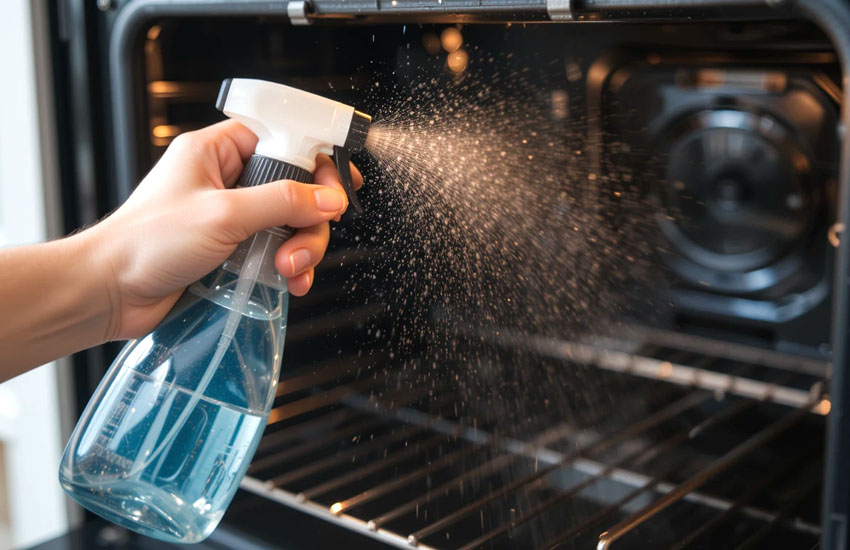
Once you've scraped away most of the grime and the paste has done its job, it's time to finish up with vinegar. Vinegar works as a natural degreaser and will help lift any remaining residue from the baking soda paste. Pour some white vinegar into a spray bottle and spritz it all over the oven's interior. As the vinegar reacts with the baking soda, it will fizz and lift any remaining bits of grease.
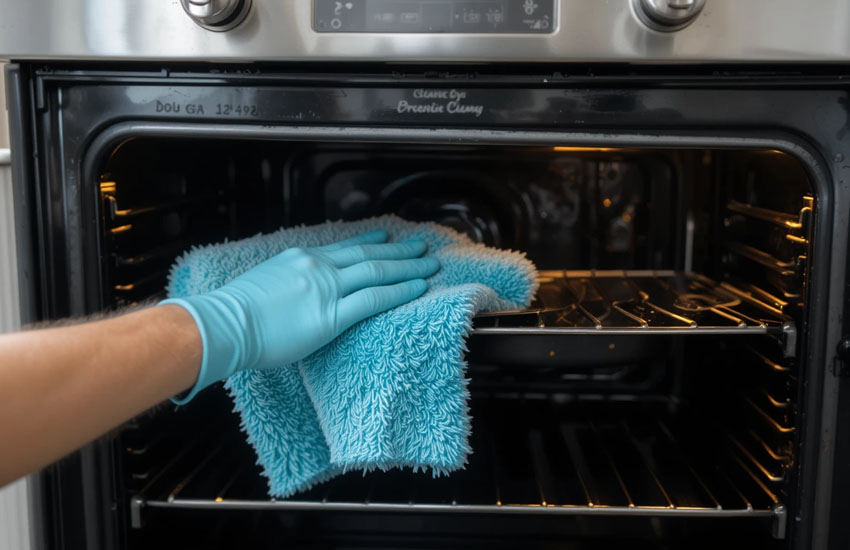
Let the vinegar sit for a few minutes, then wipe it all away with a damp cloth or sponge. Repeat as needed until your oven's interior is sparkling clean. You may need to wipe the walls a few times to remove all of the residue.
Final Touches
Now that your oven is clean, take a step back and admire your work! Be sure to check the oven door, as grease can sometimes accumulate there too. Use a soft cloth or sponge to wipe it down, and be sure to clean the window as well for a streak-free shine.
Finally, replace the oven racks and give the oven one last wipe down to make sure everything looks perfect. Once everything is dry and spotless, your oven will be ready to use again!
I hope this guide helps make cleaning your oven a little less overwhelming! By using these simple, natural methods, you can get your oven sparkling clean without relying on harsh chemicals or the self-clean feature. So next time you open your oven, enjoy the sight of a shiny, fresh interior!

Frequently Asked Questions
Is it safe to use baking soda and vinegar on my oven?
Yes, both baking soda and vinegar are safe for most ovens and are effective at breaking down grease and grime without causing damage.
Can I clean my oven with just vinegar?
While vinegar is an excellent cleaner and degreaser, baking soda is needed for tougher grime. Together, they create a powerful cleaning duo.
Do I need to scrub my oven after applying the baking soda paste?
After the paste sits for 15 to 20 minutes, you should be able to scrape most of the grime off without excessive scrubbing.
Is it necessary to remove the oven racks before cleaning?
Yes, removing the oven racks allows you to clean them separately and ensures a more thorough clean of the oven interior.
Can I use a metal scraper to remove the grease?
It's best to avoid metal scrapers, as they can scratch the oven's surface. Use a plastic spatula or scraper for gentle removal.
Do I need to clean the oven door separately?
Yes, the oven door often collects grease and food splatters, so it's important to clean it separately for a streak-free finish.
How often should I clean my oven?
It's recommended to clean your oven every 3 to 6 months, but if you use it heavily, you may want to clean it more frequently.